
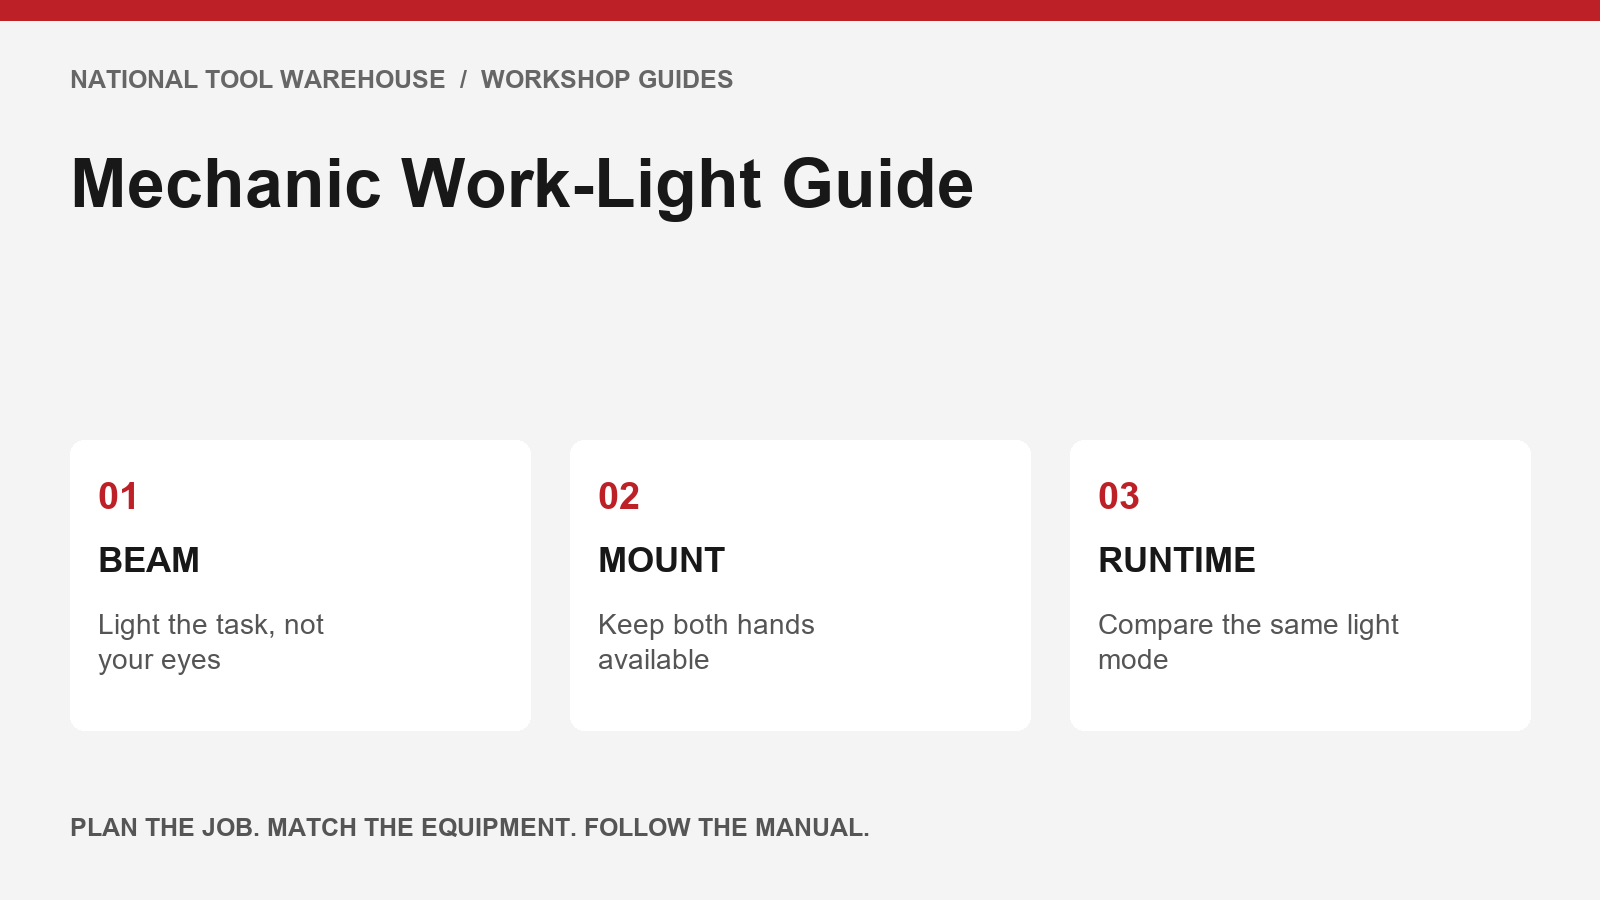
The best work light for a mechanic is the one that illuminates the part while leaving room for hands and tools. A brighter light can still be frustrating if it creates glare, cannot stay in position or loses useful output halfway through the job. Choose the shape and mounting method before comparing headline lumen figures.
This guide compares selection criteria rather than ranking products we have not tested. Manufacturer examples illustrate features; they do not establish NTW stock, compatibility with your batteries or suitability for a hazardous location.
Start with the space you work in
Think about your most common repair position. An engine bay benefits from broad coverage; a connector behind a bracket needs a small light head and precise aiming. Underbody work adds clearance and placement constraints. A handheld inspection lamp may be excellent for finding a leak but awkward when both hands are needed for the repair.
| Task | Useful light form | Check carefully |
|---|---|---|
| Engine-bay work | Underhood bar or broad flood | Mounting span, pad contact and shadows |
| Close inspection | Slim inspection lamp or penlight | Head size, beam control and reach |
| Underbody repairs | Compact flood or articulated lamp | Clearance, stability and glare |
| Moving around a bay | Headlamp plus task lighting | Comfort, line of sight and reflections |
| Color-sensitive inspection | Light with published color-rendering information | The rating for the actual mode used |
Compare beam shape as well as lumens
Lumens describe light output, but do not tell you where that light lands. A concentrated beam can help inspect a distant recess while producing an uncomfortable hotspot at arm’s length. A broad flood spreads illumination across a larger working area. Aim the light from the side when a direct reflection hides the feature you are trying to see.
Use adjustable output to control close-range glare. More light is not automatically more detail on shiny metal. A second light at another angle can reveal a shadowed connection more effectively than turning the first lamp to maximum. This is a practical positioning choice, not a claim that a particular brightness suits every bay.
Choose a mount that fits the surface
Magnetic bases need a suitable ferrous mounting surface. They cannot be assumed to work on an aluminum panel or plastic trim. Hooks and stands provide other options, but their reach and stability still need checking. Keep the mount clear of fragile components, hot surfaces and moving parts.
Milwaukee’s M12 underhood light illustrates a dedicated bar format with padded hooks and broad engine-bay illumination. Streamlight’s Syclone illustrates a different approach: a compact rotating body, magnetic base and folding hook. Those examples solve different positioning problems. Compare the actual dimensions and attachment method with your workspace before choosing.
Read runtime at the output you intend to use
Compare the runtime and output for the same mode and battery configuration. Do not pair a high-output brightness figure with a low-mode runtime and treat them as one operating condition. Check whether the battery and charger are included, whether the pack is removable, and how the light indicates a low charge.
Plan charging around your work. A replaceable pack may suit a busy shared bay; an integrated rechargeable light may suit a portable inspection kit. Check the manufacturer’s charging instructions and connector details rather than assuming that every USB socket or tool battery is compatible. Existing battery ownership is useful only when the exact light supports that platform.
Color recognition and durability
When comparing wiring colors or surface appearance, look for a published color-rendering specification. Streamlight’s Syclone fact sheet distinguishes a cool-white spot mode from a 90-CRI flood mode intended to improve color recognition. That does not make lighting a substitute for wiring diagrams, circuit identification or electrical testing.
Inspect published water, impact and chemical-resistance claims for the exact model. A water-resistance rating does not establish that a lamp is approved for flammable atmospheres. For work where vapors or another classified hazard may be present, use the employer’s specified equipment and the applicable certification.
Browse NTW technician accessories alongside your lighting checklist. Check each product listing for the required function and kit contents.
A short buying checklist
- Write down the tightest space and usual mounting position.
- Choose a flood, spot or combined beam for that work.
- Compare output and runtime in matching modes.
- Check batteries, charging accessories and kit contents.
- Verify the published ratings needed for the environment.
Lighting belongs in the wider bay setup. Our automotive shop safety checklist covers the surrounding work area, while the mechanic PPE guide addresses protection selected for the task.
Work-light FAQs
How many lumens does a mechanic need?
There is no single useful figure for every task. Choose the working distance, beam shape and positioning first, then compare adjustable output in that context.
Will a magnetic light attach anywhere under a hood?
No. Confirm the material and a stable mounting location. Use another approved attachment method where the surface is unsuitable.
Does the longest runtime mean the best light?
Only if the output and beam remain useful for the job. Compare the same operating mode and check the charging or battery-change plan.
Manufacturer references
Milwaukee M12 underhood light; Streamlight Syclone fact sheet; Streamlight work-light range. Check current exact-model specifications before purchase.