
Air Compressor Repair: Troubleshooting 7 Common Problems
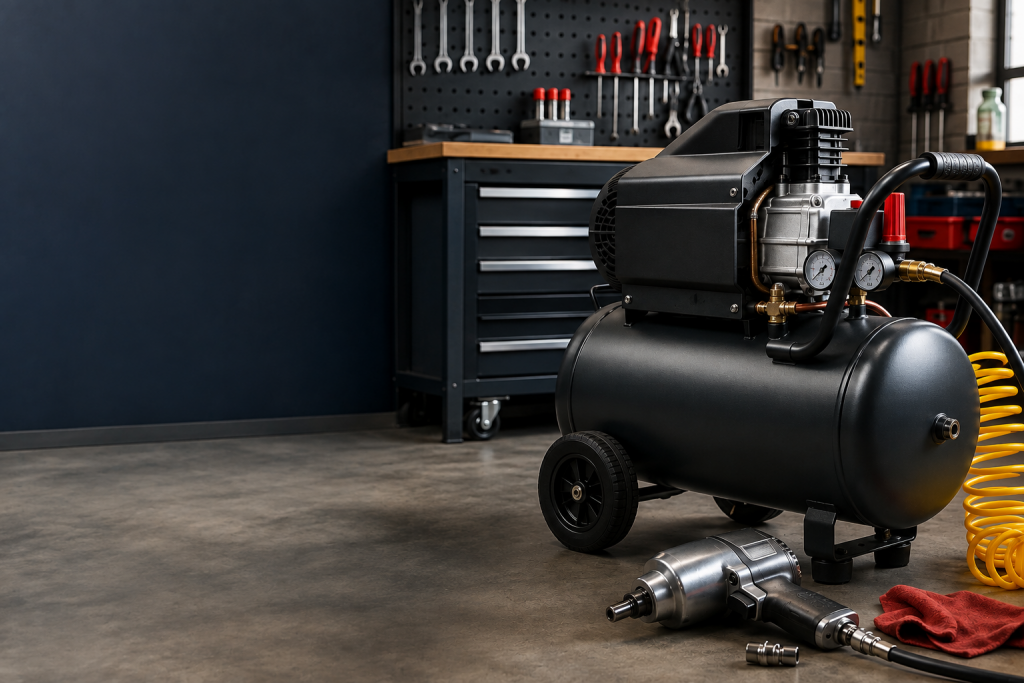
An air compressor that will not start, build pressure or hold air does not always need a major repair. Many problems trace back to the power supply, a loose fitting, an open drain, a clogged intake filter or a worn hose. Start with the simple checks, follow the manual for your exact model and stop when the diagnosis reaches electrical controls, internal pump parts or the receiver tank.
Before treating low tool performance as a compressor fault, compare the load with our air-tool airflow requirements. For continuous abrasive blasting, check nozzle-based sandblasting demand separately.
This air compressor repair guide is written for portable and stationary reciprocating compressors used in garages, workshops and jobsites. Rotary-screw compressors, hardwired three-phase units and large industrial systems require model-specific procedures and are usually best handled by a qualified compressor technician.
Before You Troubleshoot: Make the Compressor Safe
Compressed air stores energy, and a compressor can restart automatically if it is still connected to power. Before removing a guard, touching a fitting or inspecting a moving part:
- Turn the compressor off and disconnect it from power. For a hardwired unit, use the site’s approved isolation procedure.
- Close the outlet, disconnect air tools and bleed the tank to 0 PSI before loosening any fitting or component.
- Let the pump, motor and discharge tube cool before touching them.
- Wear eye protection and follow the owner’s manual for pressure ratings, oil type, belt tension and service intervals.
- Never bypass a pressure switch or safety relief valve. Never weld, drill or patch a damaged receiver tank.
Stop immediately if you find a bulged, deeply rusted, cracked or leaking tank; a stuck safety valve; burned wiring; smoke; a strong electrical odor; or a breaker that trips again after one basic reset. These conditions call for professional inspection or replacement.
Shop safety note: OSHA requires compressed air used for cleaning to remain below 30 PSI when the nozzle is dead-ended and to be used with effective guarding and personal protective equipment. Never use compressed air to clean your skin or clothing.
Air Compressor Troubleshooting Chart
Use the tank gauge, outlet gauge and the sound of the machine to identify the symptom before buying parts. Work from the least invasive check to the most complex.
| Symptom | Likely causes | Safe first checks | Stop and call a pro when |
|---|---|---|---|
| Will not start | Power problem, thermal overload, tank above cut-in pressure, unloader or pressure-switch fault | Check the outlet or circuit, switch, reset and tank pressure. Let the motor cool. | A breaker trips again, wiring is damaged or the motor hums without turning |
| Runs but will not build pressure | Open drain, leak, clogged filter, worn valve plate, gasket or rings | Close the drain, isolate the hose, check gauges, inspect the filter and test external joints for leaks. | Air escapes from the pump, the pump is damaged or pressure stays far below specification |
| Leaks after shutdown | Hose, coupler, drain, check valve or unloader leak | Listen for the source and use a soap solution on external joints. | The tank, weld or safety valve leaks |
| Cycles too often | Leak, excessive air demand, small tank or check-valve fault | Disconnect tools, watch the tank gauge and test fittings, hose and drain. | The pressure switch chatters, contacts arc or cycling continues with no external leak |
| Overheats or shuts down | Blocked airflow, dirty filter, low or wrong oil, heavy duty cycle, belt or pump friction | Clean vents, improve clearance, check oil and compare run time with the manual. | There is smoke, a burning smell, repeated thermal trips or internal noise |
| Knocks, rattles or vibrates | Loose feet or bolts, worn belt, misalignment or pump damage | Power down, check mounting hardware, guards and visible belt condition. | Noise is metallic, the flywheel is damaged or vibration returns after tightening |
| Moisture or oil in the air line | Tank condensate, saturated filter, overfilled oil or internal wear | Drain the tank, service filters and verify the correct oil level. | Oil carryover continues, the tank is corroded or the pump shows internal wear |
1. Air Compressor Will Not Start
Begin at the power source. Confirm that the switch is on, the plug is fully seated and the outlet or branch circuit matches the voltage and amperage listed in the manual. If the unit has a thermal reset, let the motor cool before pressing it once. A compressor with a full tank may also be operating normally: it should remain off until tank pressure drops to its cut-in point.
Avoid a light-duty extension cord. Voltage drop can make the motor overheat or struggle to start. Where the manual permits, a longer air hose is often a better way to extend working reach.
If the motor starts with an empty tank but struggles to restart under pressure, the unloader or tank check valve may not be releasing head pressure correctly. That diagnosis is model-specific. Do not adjust pressure-switch screws or open an electrical enclosure unless the manufacturer’s procedure allows it and you are qualified to perform the work.
2. Compressor Runs but Will Not Build Pressure
First, confirm that the tank drain is closed and that air is not escaping through an open outlet. Disconnect the hose and tools so you can test the compressor by itself. Compare the tank gauge with the outlet gauge: the tank may be reaching pressure while a regulator or downstream hose limits pressure at the tool.
Next, inspect the intake filter. A heavily clogged filter restricts airflow and makes the pump work harder. Clean or replace it only as the manual directs. Listen around the head, discharge tube and fittings. A steady leak at the pump can point to a gasket, valve plate, reed valve or internal seal problem.
If the unit builds some pressure but stalls well below its rated cut-out pressure after external leaks and the filter are ruled out, stop running it. Continued operation can add heat without solving the internal wear or valve problem.
3. Air Compressor Leaks or Loses Pressure
A soap-bubble test is the simplest way to find an external air leak:
- Pressurize the compressor, turn it off and disconnect it from power.
- Apply a solution of dish soap and water to fittings, couplers, the drain valve and accessible hose connections. Do not soak electrical components.
- Watch for growing bubbles and mark each leaking joint.
- Bleed the tank to 0 PSI before tightening a fitting or replacing a hose, coupler or seal.
- Pressurize the system again and retest.
A brief hiss at shutdown can be normal when the unloader releases head pressure. A hiss that continues near the pressure switch after the tank is full may indicate that the tank check valve is leaking back. Follow the model’s service instructions or have a technician confirm the fault before replacing either component.
Leaks from a receiver tank or tank weld are not DIY repairs. Remove the unit from service and replace the tank or compressor according to the manufacturer’s guidance.
4. Compressor Will Not Shut Off or Cycles Too Often
If the compressor reaches its normal cut-out pressure but keeps running, turn it off. A pressure-switch fault can allow pressure to rise beyond the normal operating range. Do not depend on the safety relief valve as the control device and do not bend, block or bypass it.
Frequent cycling has a different diagnostic path. Disconnect tools and watch the tank gauge. If pressure falls while the unit sits unused, look for a leak at the hose, couplers, drain, regulator or check valve. If pressure holds, the connected tool may be consuming more CFM than the compressor can supply, or the tank may be too small for the duty cycle.
5. Compressor Overheats or Trips the Thermal Overload
Move the unit to a clean, dry, well-ventilated area with the clearances required by the manual. Remove dust from cooling vents and inspect the intake filter. For an oil-lubricated pump, check the oil level on a level surface and use only the specified compressor oil. Never add oil to an oil-free compressor.
Also compare the actual run time with the stated duty cycle. A compressor that is undersized for continuous sanding, painting or multiple air tools may overheat even when it is working as designed. In that case, the long-term fix may be a larger-capacity compressor rather than another repair.
6. Compressor Makes Loud Noise or Excessive Vibration
With the power disconnected and tank empty, check the feet, mounting bolts, handle, belt guard and other external hardware. Replace cracked vibration isolators and tighten hardware to the manufacturer’s specification. On a belt-driven compressor, inspect the belt for glazing, fraying and obvious misalignment without removing safety guards while the unit is powered.
A loose rattle is different from a deep knock, grinding sound or squeal that returns as soon as the pump starts. Those sounds can indicate a bearing, connecting rod, piston, flywheel or valve problem. Shut the unit down before a small fault damages the pump or motor.
7. Water or Oil Appears in the Air Line
Compressed air creates condensate. Drain the receiver as often as the manual requires, commonly after use on portable shop compressors, and service downstream filters or dryers. Moisture becomes especially visible during humid weather and high-demand work.
For painting and other moisture-sensitive jobs, an appropriately sized filter, separator or dryer helps protect the finish and air tools. Browse National Tool Warehouse air compressor equipment to compare compressors, filters, air dryers, regulators and gauges for a complete air system.
Oil in the air line can come from overfilling, the wrong lubricant, restricted crankcase ventilation or worn rings and cylinders. Correct the oil level and filter condition first. Persistent oil carryover requires pump diagnosis.
Repair or Replace the Air Compressor?
Repair usually makes sense when the receiver tank is sound, the failure is limited to an accessible component, the correct part is available and the compressor still meets your airflow needs. A hose, filter, drain, regulator, belt or model-approved external valve can be a practical repair when the manual provides a clear procedure.
Replacement deserves a closer look when the tank is damaged or corroded, major pump and motor work is required, the unit has repeated failures, compatible parts are unavailable or the compressor is undersized for the tools it must run. Compare the full repair quote, downtime, remaining warranty and expected reliability with the price and capacity of a replacement. There is no single percentage that fits every compressor.
When replacement is the better decision, compare air compressors for automotive shops, garages and jobsites, by tank size, CFM at the required PSI, duty cycle, voltage, portability and noise level, not tank size alone.
How to Match Replacement Parts Correctly
Do not choose a compressor part by appearance alone. Before ordering, record:
- Manufacturer, model number, serial number and product revision
- Oil-free or oil-lubricated pump type
- Voltage, phase, horsepower and tank capacity
- Maximum working pressure and the original part’s pressure or temperature rating
- Thread size, port orientation, belt dimensions or filter dimensions, as applicable
Use the illustrated parts list or owner’s manual for the exact model. Safety valves, pressure switches, check valves, capacitors and electrical components must match the manufacturer’s specifications. An incorrect rating can create a new fault or defeat a safety function.
Prevent the Next Air Compressor Repair
- Drain condensate at the interval in the manual and check the tank for corrosion.
- Inspect the intake filter, hose, fittings, cord and plug regularly.
- Check oil level and change lubricant only on oil-lubricated models, using the specified product and interval.
- Keep cooling fins and vents clean, and leave the required clearance around the unit.
- Test the safety relief valve only as the manufacturer directs. Replace a valve that sticks or does not operate smoothly.
- Match each air tool’s CFM and PSI demand to the compressor’s delivered output.
- Write down run hours, maintenance dates and recurring symptoms so patterns are easier to diagnose.
Frequently Asked Questions
Can I repair an air compressor myself?
Many owners can safely handle basic maintenance and external repairs described in the manual, such as replacing a hose or intake filter, draining the tank and resealing an approved threaded fitting. Internal electrical work, pump rebuilding, hardwired controls and pressure-vessel damage should go to a qualified technician.
Why does my compressor run but not build pressure?
Common causes include an open drain, an external leak, a clogged intake filter, a failing gasket or valve plate, worn piston rings or a regulator problem. Isolate the compressor from the hose and tools, compare both gauges and test external joints before assuming the pump needs rebuilding.
Why does air leak from the pressure switch after shutdown?
A short hiss may be the unloader releasing head pressure. Continuous leaking can indicate a tank check valve that is allowing air to flow backward. Confirm the diagnosis with the manual or a technician because the check valve and pressure-switch assembly perform different jobs.
How often should I drain an air compressor tank?
Use the interval in the owner’s manual. Many portable compressor manuals call for draining after each use, while larger systems may use automatic drains and scheduled inspections. Humid conditions and long run times increase condensate.
Is an old air compressor worth repairing?
It can be, especially when the tank is sound, the compressor is correctly sized and the fault is limited to an available part. Replacement is usually more attractive when the tank is unsafe, major pump and motor work overlap, failures keep returning or the unit no longer supplies the required CFM.
Shop Air Compressors by the Specs That Matter
If repair no longer makes sense, browse National Tool Warehouse air compressors and compare delivered CFM at the required PSI, duty cycle, voltage, portability and noise level against the tools you use most.