
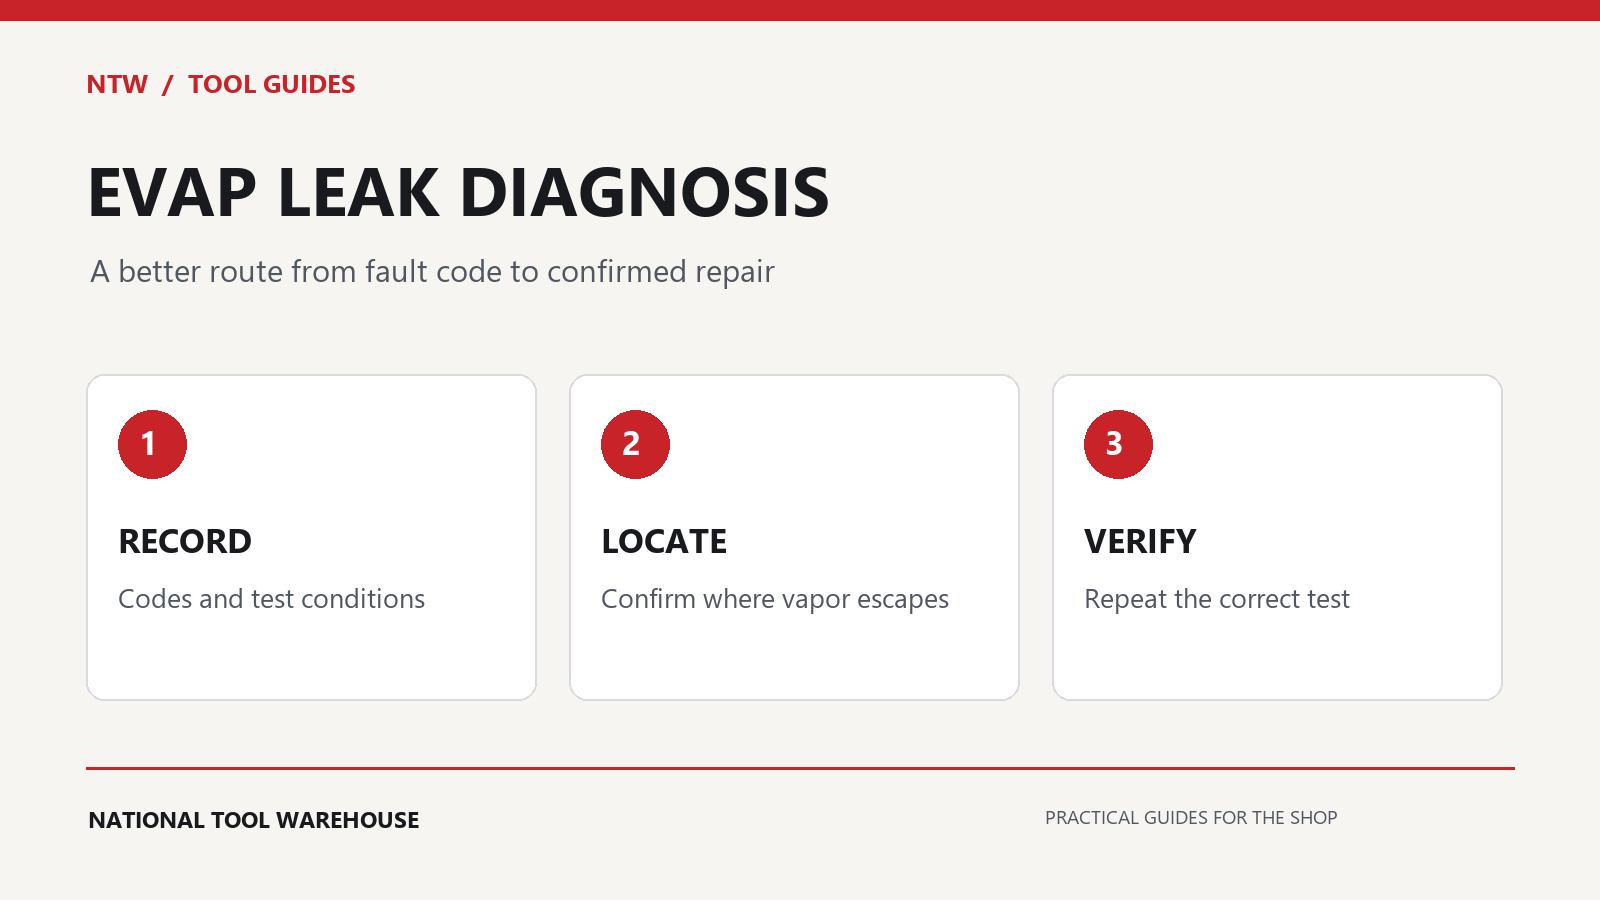
An EVAP fault code points you toward the fuel-vapor control system; it does not identify the part to replace. A useful diagnosis keeps three questions separate: is the system failing its test, where is the fault, and has the repair restored the intended operation?
This guide explains that sequence for gasoline vehicles. The vehicle manufacturer’s service information and the leak detector’s instructions set the actual connection points, test conditions and pressure limits. A fuel smell, visible fuel leakage or damaged fuel-system components calls for professional attention before further testing.
Start with the evidence, before clearing anything
Record the exact code, its status, freeze-frame information, fuel level and the customer’s observations. Note whether the warning followed refueling, another repair or an intermittent running complaint. Keep a copy of the original scan report so the repair can be compared with the starting condition.
Read the vehicle-specific code definition. Leak-size faults, purge-flow faults and electrical circuit faults need different diagnostic paths. Treat a suggested component name as a starting point for a test, rather than a parts order. For choosing equipment that can access the required functions, see our OBD-II scanner buying guide.
What to check first
| Finding | Useful next question | What it does not prove |
|---|---|---|
| A cap or filler-neck concern | Is the sealing surface damaged, dirty or incorrectly fitted? | That the cap is the only fault |
| A leak-related fault | Can the specified system test reproduce a leak? | Which hose, valve or seal failed |
| A valve circuit fault | What electrical checks does service information specify? | That a smoke test alone will solve it |
| A test that will not complete | Are the required conditions and tool coverage satisfied? | That the vehicle has passed |
Inspect the accessible system
Use the routing diagram to identify the filler connection, vapor lines, canister and control valves on that vehicle. Look for disturbed fittings, obvious damage and evidence of a recent repair. Include the underside only when the vehicle is supported using approved equipment and procedures.
Do not assume every vehicle has a conventional removable gas cap, the same test port or the same valve arrangement. Photograph suspicious areas and record their exact location. That makes the next test more useful and helps avoid changing several parts without knowing which change mattered.
Use a controlled leak test
A trained technician may use the supported manufacturer diagnostic routine to check system integrity and command the appropriate valves. Snap-on’s EVAP diagnostic guidance distinguishes confirming a leak from locating it; a valve that has not reached the intended test position can confuse the result.
For smoke testing, use equipment intended for the application, the approved fluid and the specified gas supply. Follow both the vehicle and equipment procedures. Never feed unrestricted shop air into the fuel-vapor system or substitute a homemade smoke source. Redline’s Smoke Pro instructions require an engine-off test, ventilation and separation from ignition sources.
Watch the actual escape point and use the equipment’s prescribed flow or pressure-decay checks. Confirm that apparent smoke is not leaving through an intentionally open path or the test connection itself. No visible smoke by itself is not a completed diagnosis; test setup, valve operation and access all affect what you can observe.
Repair the demonstrated fault, then verify it
Record the failed component or connection and the evidence supporting the repair. Repeat the applicable integrity test after correcting it. Follow the vehicle procedure for fault clearing and monitor completion; deleting a warning light is not the same as verifying the emissions monitor has passed.
A useful job note contains the original complaint, test setup, result before repair, exact correction and result afterward. If the complaint is intermittent, describe the conditions that were reproduced and what remains unconfirmed. That is more informative than simply writing “smoke tested.”
Equipment checklist
- Service information for the exact vehicle and system.
- A scan tool with the required coverage and functions.
- An application-appropriate leak detector, approved fluid and adapters.
- Inspection lighting and the protection required for the task.
- A way to save the before-and-after results.
Compare the coverage and included accessories when browsing NTW scan tools. A generic code-reading feature does not establish EVAP functional-test support.
Questions technicians often ask
Should I replace the gas cap first?
Inspect it when the vehicle uses one, but establish why it is suspect. A cap cannot resolve a damaged line, a valve control fault or an incorrect test setup.
Can a basic code reader finish this diagnosis?
It may provide useful code information. Check whether the next diagnostic step needs manufacturer data, a supported functional test or separate leak-testing equipment.
Technical references
Snap-on EVAP system diagnostic guidance and Redline Detection operating manuals, including Smoke Pro Total-Tech model 95-0050. Procedures vary by vehicle and equipment.