
How to Use a Car Battery Tester
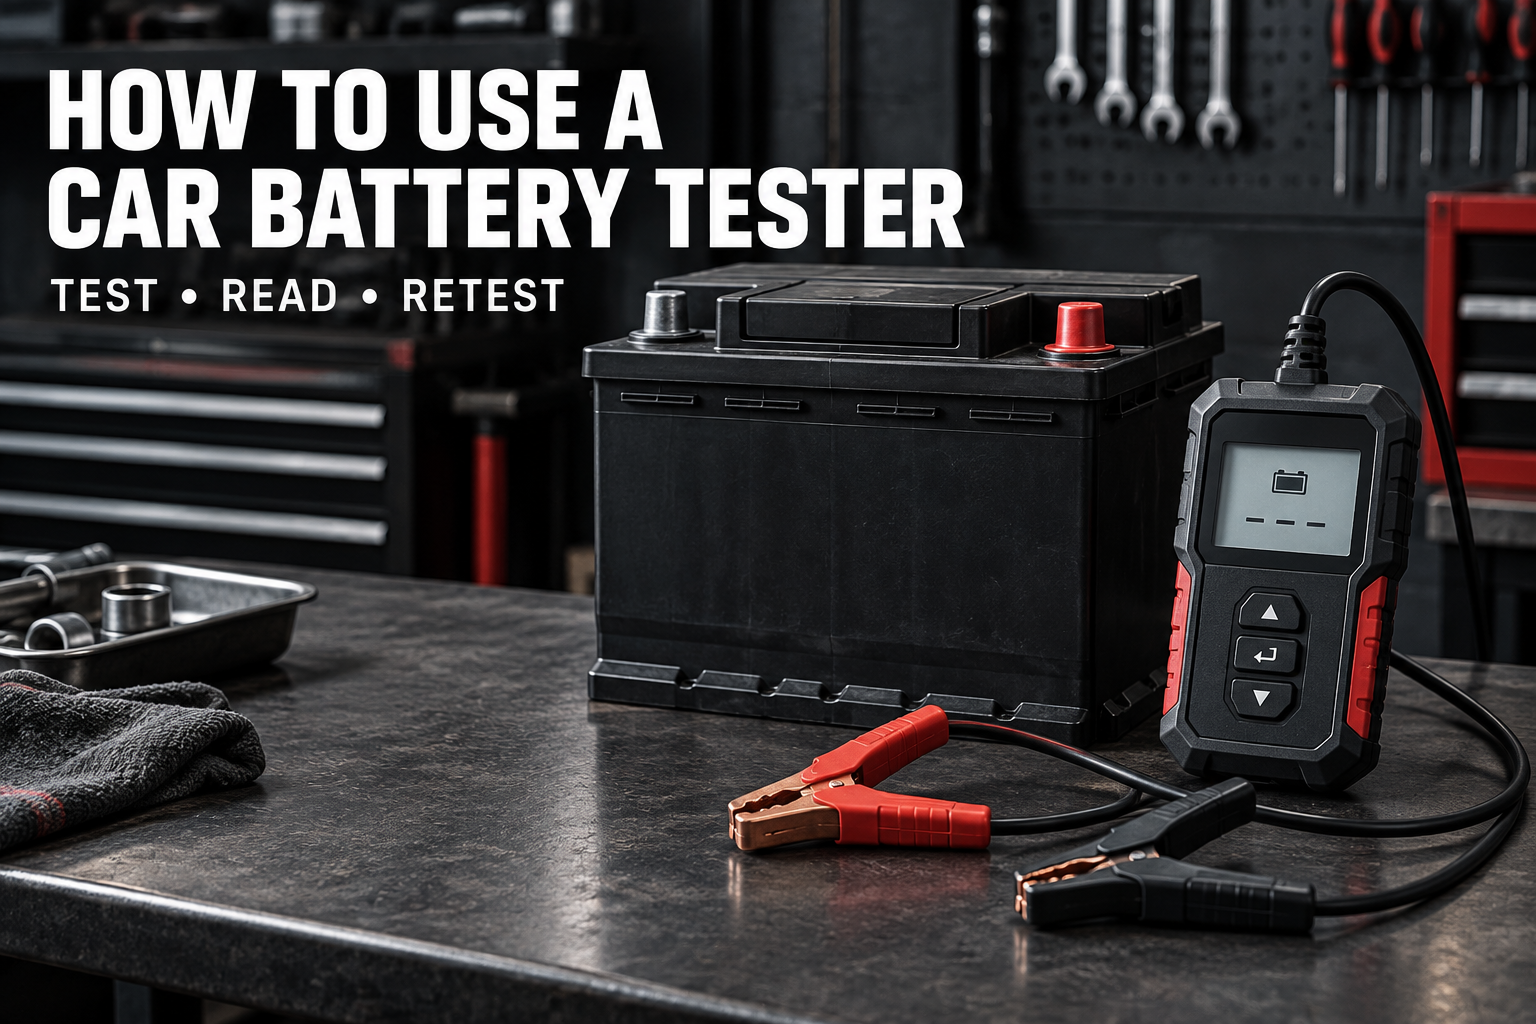
A car battery tester can tell you much more than whether a battery has 12 volts. Used correctly, it can help separate a discharged battery from a worn-out battery, estimate available cold cranking amps, and point you toward a starting or charging-system problem.
A battery test is one part of a wider electrical diagnosis. See our guide to automotive electrical testing tools for the equipment used in related checks, and our explanation of vehicle diagnostic testing when the fault needs further investigation.
The basic process is straightforward: inspect the battery, identify its type and rating, connect the tester to the correct posts, enter the label information, run the appropriate test, and interpret the result. The details depend on whether you are using a conductance tester, a load tester, or a multimeter.
The most important distinction is this: state of charge is not the same as battery health. Resting voltage mainly indicates how charged a 12-volt lead-acid battery is at that moment. It does not prove that the battery can supply enough current to crank an engine. A battery can show a normal resting voltage and still fail a conductance or load test.
Choose the Right Test for the Question
Tool | What it tells you | Best use | Main limitation |
|---|---|---|---|
Conductance tester or digital battery analyzer | Estimates cranking capability, measured CCA, internal electrical condition, and often state of health | Fast in-vehicle diagnosis with little battery drain | Results depend on correct battery type, rating standard, rated CCA, and clamp contact |
Carbon-pile or fixed-load tester | Shows how the battery holds voltage while supplying a controlled high current | Direct high-current performance check | Usually requires an adequately charged battery; creates heat and must not be applied longer than instructed |
Digital multimeter | Measures resting voltage, cranking voltage, and charging voltage | Checking state of charge and supporting electrical diagnosis | Voltage alone cannot determine battery health or remaining service life |
For equipment that can evaluate the battery, starter, and alternator, browse battery and charging system testers. National Tool Warehouse also carries a broader range of battery tools for cleaning, charging, testing, and service work.
Before Testing: Safety and Battery Inspection
Automotive lead-acid batteries contain corrosive electrolyte and can release flammable gas, especially during charging. Take a minute to prepare the work area before attaching a tester.
- Park on a level surface, set the parking brake, shut the engine off, and remove the key. Turn off the lights, blower, radio, and other accessories unless the tester directs you to use a load.
- Work in a well-ventilated area away from cigarettes, flames, sparks, and welding or grinding activity.
- Wear safety glasses and suitable gloves. Remove metal jewelry that could bridge a battery terminal and grounded metal.
- Inspect the case and posts. Do not test a battery that is cracked, leaking, badly swollen, frozen, or otherwise visibly damaged. Follow the battery manufacturer’s handling instructions.
- Check that the battery is secured. Inspect the cables, terminal ends, grounds, and charging-system belt for looseness, damage, or heavy corrosion.
- Clean dirty terminals before testing. A tester needs solid metal-to-metal contact. Never assume a poor reading is valid when the clamps are sitting on corrosion, paint, or loose hardware.
- Read the tester manual. Some testers are designed for in-vehicle testing, while others require the battery to be disconnected. Disconnecting a battery can erase vehicle settings or affect electronic systems, so follow the vehicle manufacturer’s procedure.
Do not connect a load tester while a charger or another test device is attached. Never remove the clamps while a load tester is applying current.
Identify the Battery Type, Rating Standard, and Rated CCA
Look for the battery label before starting a digital test. Record three items:
- Battery technology: Common choices include conventional flooded, AGM flat plate, AGM spiral wound, EFB, and gel. Select the exact option supported by the tester.
- Rating standard: In the United States, CCA or SAE is common, but labels can also show CA, MCA, JIS, EN, DIN, or IEC. These standards are not interchangeable.
- Rated value: Enter the number printed next to the selected standard. If the label says 650 CCA, choose CCA and enter 650. Do not enter a CA or MCA number as though it were CCA.
CCA, or cold cranking amps, is a standardized measure of starting-current performance at 0 degrees F. A handheld analyzer does not recreate the full laboratory CCA test. It uses the battery’s electrical response and the label data to estimate available cranking performance. The correct inputs are essential.
If the battery has more than one rating, match the tester setting to the exact rating and standard you enter. When the label is unreadable, check the vehicle or battery manufacturer’s specifications rather than guessing.
Remove Surface Charge When Appropriate
A battery that was just charged or was recently running can retain a temporary surface charge. That can make a resting-voltage reading look higher than the battery’s stabilized state of charge.
Remove surface charge before relying on open-circuit voltage or before a load test when the tester manufacturer calls for it. The correct method and recovery time vary by tester. Depending on the equipment, the manual may direct you to let the battery rest, switch the headlights on briefly and then turn them off, or apply a specified short load.
For example, a Midtronics PBT-200 procedure directs users to switch the headlights on for 30 seconds and then let the battery recover for one minute after recent vehicle operation. Fluke’s multimeter guidance uses about one minute of headlight load before the reading. Turn the headlights off before measuring.
Do not apply either timing rule to every battery and tester. Carbon-pile procedures can specify a different load and a longer stabilization period. Some conductance testers are designed to evaluate a partially discharged battery and may provide their own prompts. Follow the instrument manual.
Connect the Tester Clamps Correctly
With the tester or load control in its off or ready state:
- Identify the positive post, marked +, and the negative post, marked -.
- Attach the red clamp to the positive post.
- Attach the black clamp to the negative post or the connection point required by the tester and vehicle instructions.
- Make sure both clamp jaws contact clean lead or the approved terminal adapter. Rock the clamps gently if the tester reports a poor connection.
- Keep the leads away from the fan, belts, pulleys, and hot exhaust parts.
Direct contact at the battery posts usually gives the most reliable battery measurement. Remote jump posts and long vehicle cables add resistance, so use them only when the vehicle or tester instructions require it.
When the test is finished and no load is being applied, remove the black clamp first and then the red clamp unless the equipment manual specifies another sequence.
How to Use a Conductance Battery Tester
Conductance testers are a practical choice for quick diagnosis because they use a small signal rather than a sustained high-current load. Many models also guide you through cranking and charging-system checks.
- Complete the safety inspection and connect the clamps securely.
- Select in vehicle or out of vehicle if prompted.
- Select the exact battery technology shown on the label.
- Select the rating standard shown on the label, such as CCA, SAE, JIS, EN, DIN, or IEC.
- Enter the rated value from the label.
- Follow any prompt about recent charging, surface charge, or battery temperature.
- Start the battery test. Keep accessories and the ignition off unless the tester asks for a system test.
- Record the decision, measured voltage, measured CCA or equivalent rating, and any state-of-health or state-of-charge values.
- If the tester reports a connection error, reposition the clamps on clean metal and repeat the test before drawing a conclusion.
For a portable example, the MIDTRONICS MDX-P300 battery and electrical system tester supports discharged-battery testing, bad-cell detection, starting and charging voltage capture, multiple lead-acid battery types, and printed results. Another listed option, the SOLAR BA9 digital battery and system tester, supports several flooded, AGM, start-stop, EFB, and gel settings across a 40 to 1,200 CCA range.
How to Use a Battery Load Tester
A carbon-pile or fixed-load tester draws substantial current to simulate the demand placed on a battery during starting. Because tester designs vary, the product manual and its temperature-compensation chart control the procedure.
Load-test step | What to do |
|---|---|
Confirm charge | Use a load test only when the battery meets the tester’s minimum state-of-charge requirement. Many conventional testers call for at least about 75 percent charge. Charge first when required. |
Remove surface charge | If the battery was recently charged or the engine recently ran, use the tester maker’s procedure and stabilization time. |
Set the tester | Put the load control at zero or off, select the correct battery voltage, and connect the clamps to clean battery posts. |
Calculate the load | Use the tester manual. A common carbon-pile procedure applies one-half of the battery’s rated CCA. For a 600 CCA battery, that would be a 300-amp load. |
Apply and time the load | Increase the load to the specified value and hold it only for the directed time. A common procedure is 15 seconds. Do not exceed the tester’s duty cycle. |
Read and release | Read voltage at the specified time, immediately reduce the load to zero, and compare the result with the tester’s temperature-adjusted pass/fail chart. |
Allow recovery | Let the tester and battery cool for the required interval before another load test. |
In a common 15-second test at 70 degrees F, 9.6 volts is a frequently used minimum for a 12-volt battery. That number changes with battery temperature and test procedure. Use the chart supplied with the tester instead of treating 9.6 volts as a universal threshold.
These example settings come from Clore’s 1874 and 1876 carbon-pile tester instructions. Other models can specify different charge requirements, test loads, time limits, temperature charts, and cooldown periods.
The SOLAR 1852 handheld 100-amp load tester is suited to 6- and 12-volt batteries within its stated range. For adjustable shop testing, the SOLAR 1874 variable-load carbon-pile tester applies up to a 500-amp load and also supports starter and alternator assessment.
How to Test Car Battery Voltage With a Multimeter
A multimeter is useful for checking charge level and for supporting starter or charging-system diagnosis. It is not a conclusive battery-health tester.
- Remove surface charge if the vehicle recently ran or the battery was recently charged.
- Insert the black lead into the COM jack and the red lead into the voltage (V/Ω) jack, following the meter markings. Set the meter to DC volts on a range that includes 12 to 15 volts, often the 20-volt DC range on a manual-ranging meter.
- Touch or clamp the red probe to the positive post and the black probe to the negative post.
- Read the open-circuit voltage with the engine and accessories off.
- Compare the result with the battery manufacturer’s guidance. Temperature, chemistry, and stabilization time can shift the reading.
Approximate 12-Volt Battery State-of-Charge Chart
The reference values below come from the open-circuit voltage table in Clore’s 1876 manual (page 3). They are a charge-level reference, not a battery-health verdict.
Resting voltage | Approximate state of charge | Next step |
|---|---|---|
12.6 V | About 100% | Proceed to a health test if battery condition is the question |
12.4 V | About 75% | Recharge may be appropriate before a conventional load test |
12.2 V | About 50% | Charge and retest before making a replacement decision |
12.0 V | About 25% | Battery is deeply discharged; charge with the correct battery mode |
11.8 V | Near 0% | Battery is severely discharged; charge and diagnose the cause |
These values are approximate for a rested 12-volt flooded lead-acid battery. AGM, EFB, gel, temperature, recent use, and manufacturer specifications can change the relationship. A reading of 12.6 volts means the battery is charged, not necessarily healthy.
How to Read Good, Recharge, and Replace Results
Tester wording varies, so use the manual for the exact device. These are common result categories:
Tester result | What it usually means | What to do next |
|---|---|---|
Good Battery | Cranking performance meets the tester’s decision criteria | Return the battery to service and investigate other causes if the complaint remains |
Good-Recharge or Good, Recharge | Battery performance passes, but state of charge is low | Fully charge the battery with the correct charger mode; investigate lights, parasitic draw, short trips, or a charging-system issue if it becomes discharged again |
Charge & Retest | Charge is too low or the result is not decisive | Fully charge the battery, let it stabilize as instructed, and repeat the same test with correct settings and clean connections. Some Midtronics models direct replacement if this result repeats after a proper full charge; follow your model’s result table. |
Replace Battery | The battery does not meet the tester’s health or cranking criteria | Check clamp and cable connections; if the tester recommends it, disconnect and retest directly at the posts before replacing the battery |
Bad Cell, Replace | The tester detected an internal failure consistent with a bad cell | Replace the battery according to the vehicle and battery manufacturer’s procedure |
Connection, Noise, or Invalid Test | Contact, vehicle loads, a nearby charger, or incorrect setup prevented a valid result | Correct the setup, turn loads off, clean and reposition clamps, and retest |
A Replace Battery result does not always mean the battery is completely dead. A weakened battery can still start an engine under mild conditions and fail when temperature or load changes. Confirm the setup and follow the tester’s recommended verification step.
When to Charge and Retest
Charge before retesting when the analyzer displays Charge & Retest, when resting voltage shows a low state of charge, or when the load-tester manual requires more charge than the battery currently has.
Use a charger mode compatible with the battery technology and voltage. Browse bench battery chargers for shop and garage charging equipment. After charging, allow the battery to stabilize or remove surface charge as directed, then repeat the test using the same correct battery type, standard, and rating.
If the battery passes after charging but becomes discharged again, do not keep treating the battery as the only suspect. Check for an alternator problem, loose or corroded connections, an accessory left on, or a parasitic draw. A Jump-N-Carry jump starter can help get a vehicle moving, but it does not charge the battery fully or diagnose why the battery went flat.
Basic Starting and Charging-System Checks
Start these checks with a battery that has passed its health test and is adequately charged. A weak or discharged battery can distort starter and alternator results.
Starting-System Check
Keep the tester connected and select the cranking or starter test. For a no-start cranking test, disable fuel or ignition only when the tester and vehicle service procedure require it; do not disable the starter circuit. Other digital-tester sequences expect the engine to start. Crank or start the engine as directed and record cranking voltage, cranking time, and the tester decision.
Low cranking voltage does not prove the starter is bad. Possible causes include a discharged or weak battery, loose or corroded battery cables, a poor engine ground, excessive starter current draw, mechanical drag, or an undersized battery. Follow the vehicle service information for the next voltage-drop and current-draw tests.
Charging-System Check
Start the engine only when prompted. Run the tester’s unloaded and loaded charging checks, which may ask you to raise engine speed and then switch on the headlights and blower. Record the alternator output and any ripple or diode result the tester provides.
Charging voltage targets vary by vehicle, temperature, battery type, and computer-controlled charging strategy. A single generic voltage range cannot prove that every alternator is good. Compare the reading with the vehicle manufacturer’s specifications and inspect the belt, cables, grounds, fuses, and connections before replacing a component.
Common Car Battery Testing Mistakes
- Treating a normal voltage reading as proof of battery health.
- Testing a visibly damaged, leaking, swollen, or frozen battery.
- Skipping eye protection, ventilation, or ignition-source control.
- Connecting to dirty posts, painted hardware, or a poor remote ground.
- Reversing the positive and negative clamps.
- Selecting the wrong battery technology or entering the wrong rating standard.
- Confusing CCA with CA, MCA, EN, DIN, IEC, or JIS.
- Testing immediately after charging without following the surface-charge procedure.
- Load-testing a discharged battery or ignoring temperature compensation.
- Holding a carbon-pile load longer than instructed or repeating it before the required cooling period.
- Disconnecting clamps while a heavy load is applied.
- Leaving a charger or another tester connected during a load test.
- Condemning the battery after a connection error or one unverified result.
- Diagnosing the starter or alternator before confirming that the battery is charged and serviceable.
- Using one generic charging-voltage number instead of the vehicle specification.
Frequently Asked Questions
Can a multimeter tell if a car battery is bad?
Not by resting voltage alone. A multimeter can show state of charge and can measure voltage during cranking or charging, but it does not directly establish available CCA, reserve capacity, or remaining life. Use a conductance or properly controlled load test when battery health is the question.
Can I test a battery while it is still in the vehicle?
Many conductance testers support in-vehicle testing. Some load testers or vehicle procedures require disconnection. Follow both the tester manual and the vehicle service information, especially on vehicles that may lose settings or require battery registration.
What should a battery CCA test read?
There is no single good CCA number for every battery. Compare the measured result with the exact rated CCA printed on that battery and use the tester’s decision. Temperature, charge, battery type, rating standard, and connection quality all affect the result.
Why does my tester say Charge & Retest?
The battery may be too discharged for a reliable decision. Fully charge it using the correct charger mode, allow it to stabilize as directed, confirm clean connections and correct label inputs, and test again. A repeated Charge & Retest result after a proper full charge calls for further diagnosis according to the tester manual.
For example, the Midtronics MDX-650 result table directs replacement if Charge & Retest appears again after the battery has been fully charged. Use the instruction for your exact model.
Is a conductance tester better than a load tester?
Each answers the question differently. A conductance tester is fast, portable, and places little drain on the battery. A carbon-pile tester directly challenges high-current delivery but needs more preparation and produces heat. Choose the method that matches the battery, the equipment instructions, and the level of diagnosis required.
Why does the tester say Replace if the car still starts?
The battery may still start the vehicle under current conditions but have reduced performance margin. First rule out poor clamp contact, dirty posts, incorrect settings, and low charge. Retest as the equipment manual directs. If the verified result remains Replace, plan replacement before temperature or load makes the weakness more obvious.
Match the Tester to the Job
A reliable result starts with the right tool and the right setup. For occasional maintenance, a digital tester that supports your battery technology and CCA range can provide a quick decision. Busy shops may benefit from wider rating ranges, starter and charging analysis, replaceable leads, data storage, or an integrated printer. Carbon-pile testers remain useful when a controlled high-current load is part of the diagnostic process.
Review the current selection of battery testers at National Tool Warehouse, then confirm battery-type support, rating range, system voltage, test functions, and manufacturer instructions before use.